
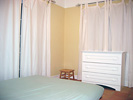
One of the reasons we liked our house when we bought it was that it required so little work when we moved in. There was no wallpaper to strip, we didn't need to paint anything, and all of the appliances were in good shape. One thing we did know, though, was that we wanted to eventually paint our second bedroom. The room was originally a very pale blue that looked dirty very easily. The walls also had a number of small scratches and holes in it that needed to be patched.
This weekend, we finally decided it was time to paint the room. This room is going to be the babies' room, and before we get too much baby stuff, we thought we should paint. Albert came out for Memorial Day, and the Home Depot was having a sale on paint, so everything seemed to line up.
We initially chose a nice warm blue color for the room, but with the terra cotta colored floors, we weren't sure what it would look like. We ended up matching the same yellow that we have in the rest of the house. The Home Depot has an amazing machine that can scan a color and automatically mix a can of paint that will match it. The room is about 9' x 11', but one wall has a big sliding glass door so it's like painting 3.5 walls. We bought a one gallon can of paint as well as a second smaller can of paint. It turns out we only needed the one gallon can.
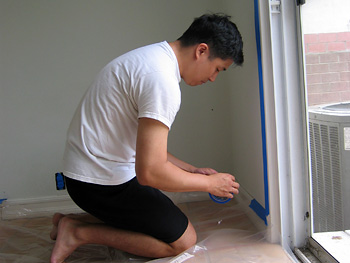
Before painting, we needed to make sure that paint didn't get on anything we didn't want it to. Albert removed the panels for the electrical outlets and the light switches. He removed the curtain rods and the anchors for the rods. We moved out all of the furniture from the room. And Albert then taped a 2mm mylar tarp over the entire floor. When you tape a tarp to the floor, make sure that you don't just put a piece of tape every few feet. Use strips to tape the entire perimeter. Also, don't try to use one long piece of tape for the entire wall -- use strips several feet in length so that you can make sure each piece is lined up just right. Finally, use something like this blue painting tape which comes off of the wall easily without harming the paint underneath.
While Albert was finishing taping the tarp, I filled in some small holes in the wall put there by the previous owners. Some of the holes were from mounting pictures. I'm not sure why there were holes down here where I'm patching them. I just used a bit of wood putty.
Since the original color of the room was so light, I didn't think we needed to use primer before we painted. We went straight into the painting. We don't have pictures of the two of us painting (since there was no one to take the pictures), but we used rollers to paint the majority of the room, and then we used smaller brushes to get the edges. I was surprised by how little the paint smelled while we were working.
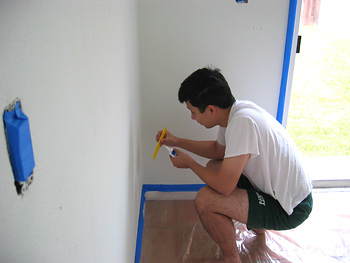
After the paint started to dry, we noticed that a little bit of the original color of the wall would show through here and there. It's possible that this wouldn't have happened if we had used primer, but it was too late to worry about that. We let the first coat dry, and then we touched up the paint around the room.
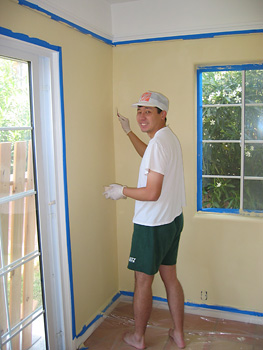
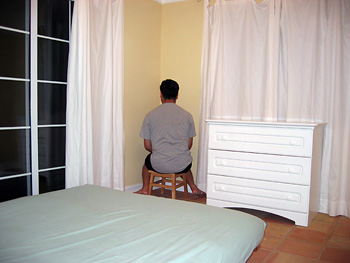
The painting cap I'm wearing came from Home Depot. They're free there (as are some wooden sticks you use to stir the paint), and though we probably didn't need the caps, it's better than getting paint in your hair. I'm also wearing latex gloves to make cleaning up easier.
After the paint dried, we pulled off all of the blue tape and cleaned everything up. The tape did a great job of making a nice edge to the paint around the room and it looks like nothing was painted that shouldn't have been.
We put the curtains back up, reattached the panels on the electrical fixtures and moved all of the furniture back into the room. We had a little footstool in the room, so Albert set it up in the corner and then sat on it.
Here's the room after the paint job. It was quite satisfying to get it done, and I think it came out great. You can click on the picture for a larger view.

Thanks Albert!